Pine Pitch Glue (PPG) :
Pine Pitch Glue (PPG) Tutorial
This is a great one to know how to do, as it can be applied in many situations. There are many different recipes and ways of making pine pitch glue but here I am sticking to the simplest one, and the one that works for me.
To make the glue you will need:
Resin/rosin:
You can find how to make it here:
http://www.doomsdayprepperforums.com/index.php?threads/diy-resin-refiner-rosin.8779/
This forms the main bulk of the glue. You can use unrefined sap but the glue won’t be as effective as you will have a lot of unwanted matter in the mix
Charcoal: The charcoal acts as a stabilizer and binding agent and gives the glue its color
Binding agent: Traditionally this is herbivorous animal droppings as the animal has done all the hard work of grinding for you, also there are some people who believe that the processed grass has better qualities to it. The best known are rabbit and horse (which I am using here). If you don't want to use droppings you can use dried grass . You have to make sure you cut it up fine first before grinding it. In addition, if you have no droppings at hand and all the grass around you is green, a good one to use is lint out of the dryer.
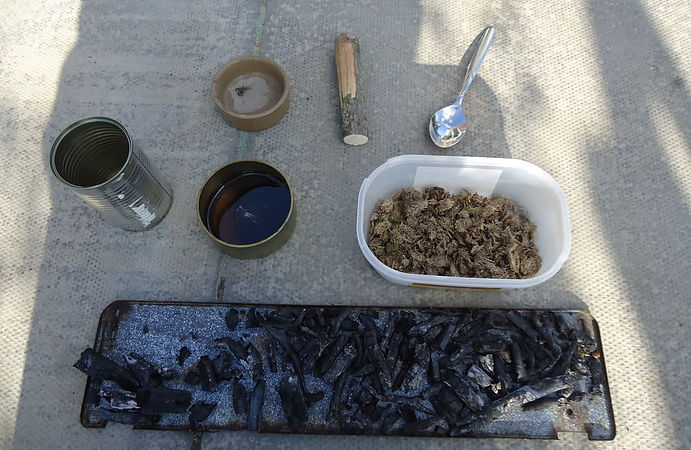
You will also need:
A container to grind the ingredients in. (I am using an old hamster dish)
Something to grind them with (I am using a simple stick)
A tub to mix in (I am using an ice-cream tub)
An old spoon to get the measurements with
Something to melt everything in. ( I am using an old camping pan that has the handle missing)
A couple of twigs to make “Glue sticks” or a mould to pour the hot glue into
First things first making this stuff can get messy so make sure any equipment used isn’t needed for anything else. Also if you get it on your hands you’ll have to give them a good scrubbing to get it off.
Method:
We will be working with a ratio of 4 : 1 : 1 here as in my experience it is the best.
So that’s 4 parts resin, 1 part charcoal and 1 part binding agent.
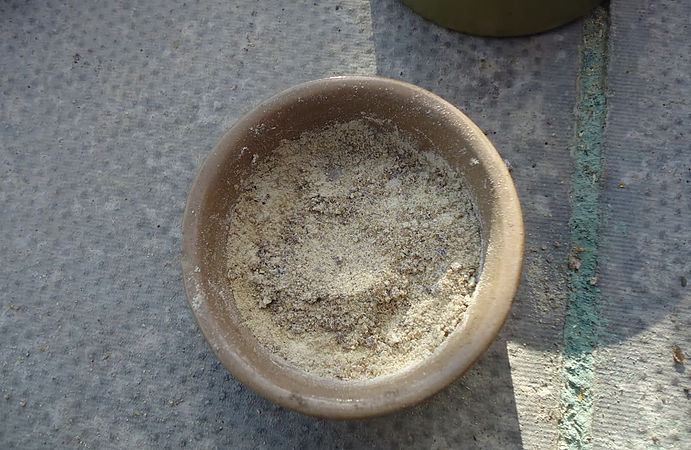
Step 1: First, break some pieces of your resin block and put them into the dish. Crush them good and then start grinding until you have a fine powder. Keep going until you have enough or more than what you need. I add the amount needed to a plastic ice cream tub.
Step 2: Next put some of the charcoal into the grinding dish and again pound/grind until you have a fine powder. Add to the tub with the resin.

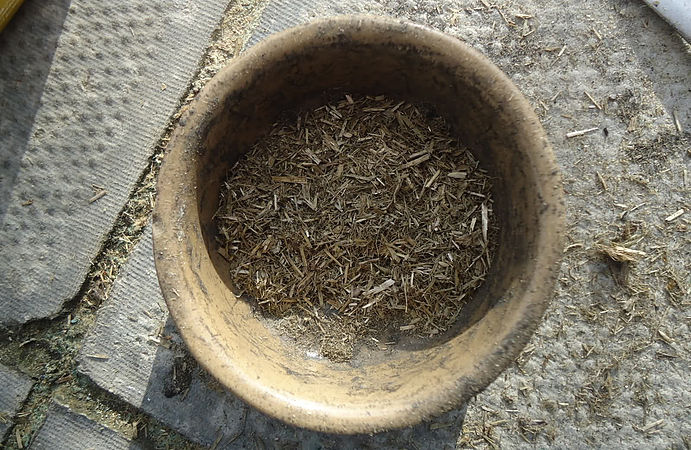
Step 3: If you are using animal droppings break them up by rubbing them between your hands. Then put some into your dish and again start grinding as fine as possible. Add desired amount to tub. (NB: Be careful you don’t turn into the wind with the bowl of crushed dung as you will lose what you have spent ages grinding and get a face full. Learned from bitter experience)
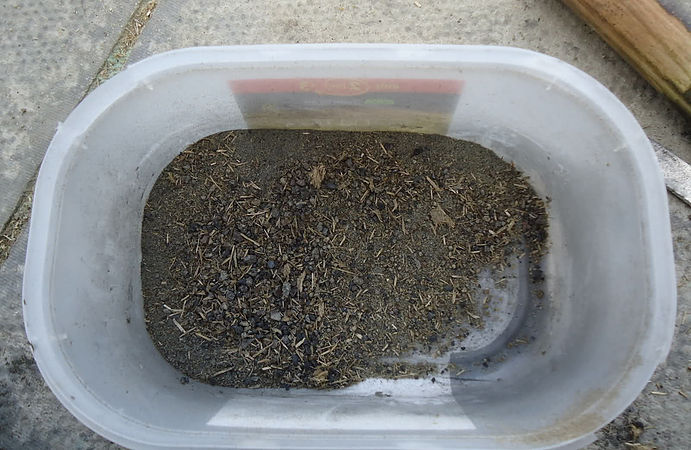
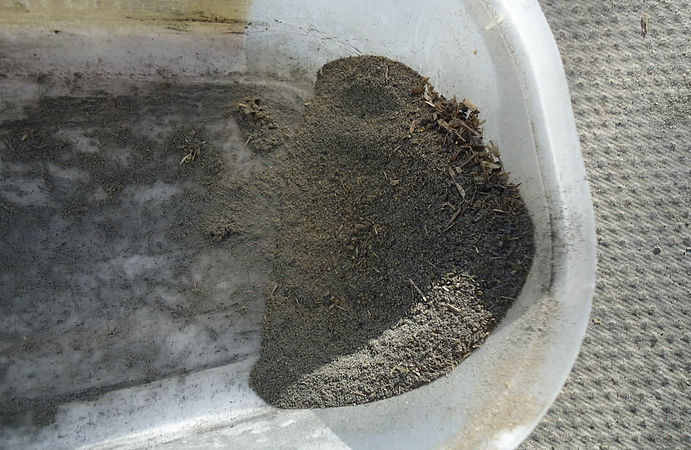
Step 4: When all the ingredients are in the tub give it a good mix. You might find some lumps that were missed. I always give the whole mix another grind in the ice-cream tub. You should notice that the colour has changed to a greyish colour that’s nothing to worry about.
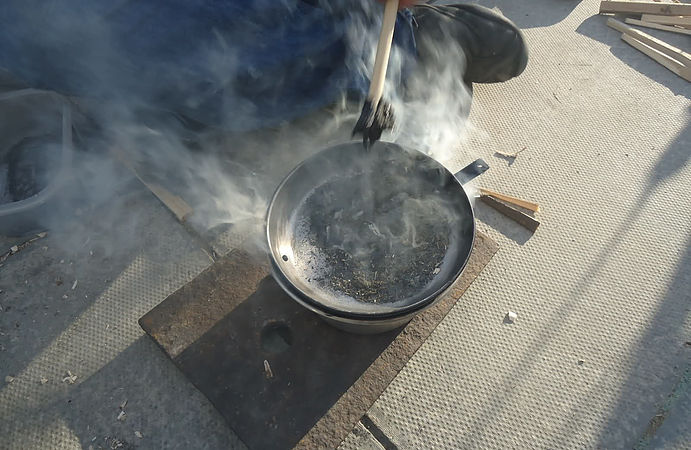
Step 5: Light a fire or use your cooker (although doing this in the house will make you kitchen smell like a smoky pinewood). Here I am using the base and from a Kelly Kettle.
Step 6: Add the ingredients to your pan it will melt pretty quickly. Keep stirring until all the ingredients are incorporated. You are after an even smooth texture that is glossy
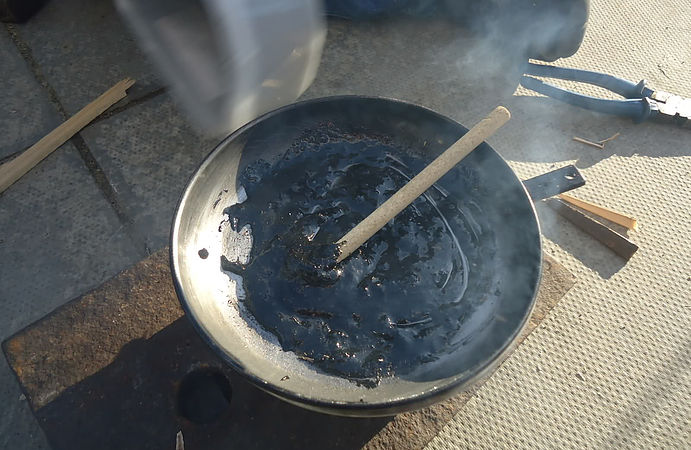
NB: There is a big debate about what is best either letting it bubble for a minute first or taking it of before it bubbles. I tend to take it off after I notice the first 4 or 5 bubbles. This way works for me so that is what I will stick with.
Step 7: Once you decide to take it from the heat, you do not have long before it starts to set, so work quickly but carefully.
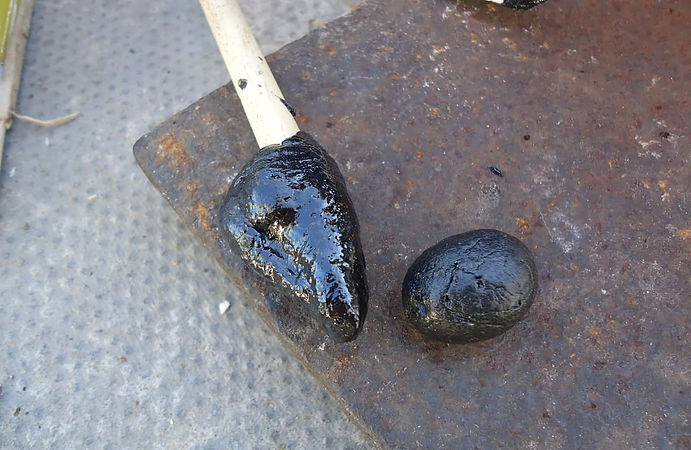
If you want to make a glue stick get your twig and out the end into the glue and keep turning. You will notice the stick will pick up the glue. Keep turning and picking up the glue until it sets. Be careful though as the glue will drip of the stick if you stop turning before it is set enough.
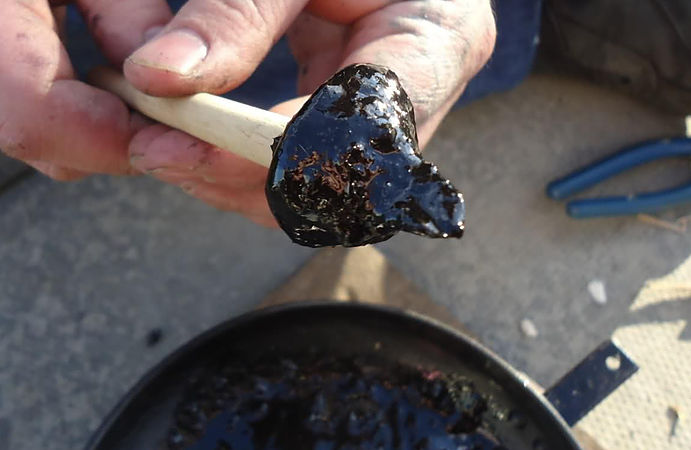
Glue balls: This is a tricky process, as you need to time it right. It can get very messy and not one I would recommend until you have made a few glue sticks up and know the handling times.
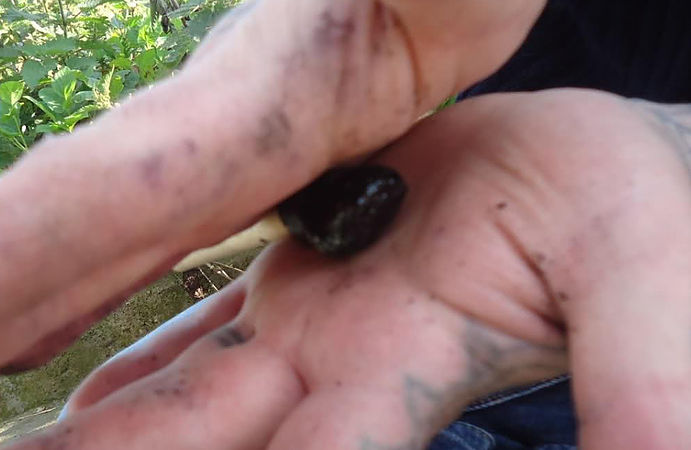
Get some of the glue on a twig and turn until it is you are just able to handle it temperature wise. Take it off the stick and very gently at first, increasing the pressure evenly roll the glue in between your hands until you form a ball. You can let this first ball cool (Which does not take long at all) and then add more to it.
Alternatively, if you have a mould you can pour the mix straight from the pan into it then leave cool. However, make sure you have a mould that you can easily pop it out from.
The finished product: If you have done the previous steps successfully then once cool you should have a hard lump/ball/cube that is hard smooth and has a glossy finish. It shouldnt break easily and when a gentle heat is applied, you should be able to mould it.
Tips:
You can add a bit of bees wax to make the mix bind better, I did not add it into the steps as bees wax might not always be available.
Make sure any droppings/grass is completely dry. I left a tub of horse droppings in the green house and I dried them out in 2 days.
When you are grinding your ingredients the finer you get it, the better the glue will be, so take time to get it down to as fine a powder as possible.
Work quickly but carefully as it cools rapidly leaving a small amount of time that you can actually mould it.
If the end product is slightly sticky after it has cooled, rub some charcoal to the outside.
All the best.
Pine Pitch Glue (PPG) Tutorial
This is a great one to know how to do, as it can be applied in many situations. There are many different recipes and ways of making pine pitch glue but here I am sticking to the simplest one, and the one that works for me.
To make the glue you will need:
Resin/rosin:
You can find how to make it here:
http://www.doomsdayprepperforums.com/index.php?threads/diy-resin-refiner-rosin.8779/
This forms the main bulk of the glue. You can use unrefined sap but the glue won’t be as effective as you will have a lot of unwanted matter in the mix
Charcoal: The charcoal acts as a stabilizer and binding agent and gives the glue its color
Binding agent: Traditionally this is herbivorous animal droppings as the animal has done all the hard work of grinding for you, also there are some people who believe that the processed grass has better qualities to it. The best known are rabbit and horse (which I am using here). If you don't want to use droppings you can use dried grass . You have to make sure you cut it up fine first before grinding it. In addition, if you have no droppings at hand and all the grass around you is green, a good one to use is lint out of the dryer.
You will also need:
A container to grind the ingredients in. (I am using an old hamster dish)
Something to grind them with (I am using a simple stick)
A tub to mix in (I am using an ice-cream tub)
An old spoon to get the measurements with
Something to melt everything in. ( I am using an old camping pan that has the handle missing)
A couple of twigs to make “Glue sticks” or a mould to pour the hot glue into
First things first making this stuff can get messy so make sure any equipment used isn’t needed for anything else. Also if you get it on your hands you’ll have to give them a good scrubbing to get it off.
Method:
We will be working with a ratio of 4 : 1 : 1 here as in my experience it is the best.
So that’s 4 parts resin, 1 part charcoal and 1 part binding agent.
Step 1: First, break some pieces of your resin block and put them into the dish. Crush them good and then start grinding until you have a fine powder. Keep going until you have enough or more than what you need. I add the amount needed to a plastic ice cream tub.
Step 2: Next put some of the charcoal into the grinding dish and again pound/grind until you have a fine powder. Add to the tub with the resin.
Step 3: If you are using animal droppings break them up by rubbing them between your hands. Then put some into your dish and again start grinding as fine as possible. Add desired amount to tub. (NB: Be careful you don’t turn into the wind with the bowl of crushed dung as you will lose what you have spent ages grinding and get a face full. Learned from bitter experience)
Step 4: When all the ingredients are in the tub give it a good mix. You might find some lumps that were missed. I always give the whole mix another grind in the ice-cream tub. You should notice that the colour has changed to a greyish colour that’s nothing to worry about.
Step 5: Light a fire or use your cooker (although doing this in the house will make you kitchen smell like a smoky pinewood). Here I am using the base and from a Kelly Kettle.
Step 6: Add the ingredients to your pan it will melt pretty quickly. Keep stirring until all the ingredients are incorporated. You are after an even smooth texture that is glossy
NB: There is a big debate about what is best either letting it bubble for a minute first or taking it of before it bubbles. I tend to take it off after I notice the first 4 or 5 bubbles. This way works for me so that is what I will stick with.
Step 7: Once you decide to take it from the heat, you do not have long before it starts to set, so work quickly but carefully.
If you want to make a glue stick get your twig and out the end into the glue and keep turning. You will notice the stick will pick up the glue. Keep turning and picking up the glue until it sets. Be careful though as the glue will drip of the stick if you stop turning before it is set enough.
Glue balls: This is a tricky process, as you need to time it right. It can get very messy and not one I would recommend until you have made a few glue sticks up and know the handling times.
Get some of the glue on a twig and turn until it is you are just able to handle it temperature wise. Take it off the stick and very gently at first, increasing the pressure evenly roll the glue in between your hands until you form a ball. You can let this first ball cool (Which does not take long at all) and then add more to it.
Alternatively, if you have a mould you can pour the mix straight from the pan into it then leave cool. However, make sure you have a mould that you can easily pop it out from.
The finished product: If you have done the previous steps successfully then once cool you should have a hard lump/ball/cube that is hard smooth and has a glossy finish. It shouldnt break easily and when a gentle heat is applied, you should be able to mould it.
Tips:
You can add a bit of bees wax to make the mix bind better, I did not add it into the steps as bees wax might not always be available.
Make sure any droppings/grass is completely dry. I left a tub of horse droppings in the green house and I dried them out in 2 days.
When you are grinding your ingredients the finer you get it, the better the glue will be, so take time to get it down to as fine a powder as possible.
Work quickly but carefully as it cools rapidly leaving a small amount of time that you can actually mould it.
If the end product is slightly sticky after it has cooled, rub some charcoal to the outside.
All the best.